皆さんは、陶芸体験や教室に参加したことはありますか?
うつわについてもっと知識を増やそう!ということで、オーナー、店長、わたしの3人で陶芸教室に通うことに!(やったー!)
今回お世話になるのは「陶芸教室きらく」さん。
全5回みっちりと、陶芸のイロハを教えていただきます!
玄人さんには「最初は自分もこんな感じだったなー」とか、初心者さんには「こんな作業をするんだ!」など、楽しく読んでいただけたら嬉しいです。
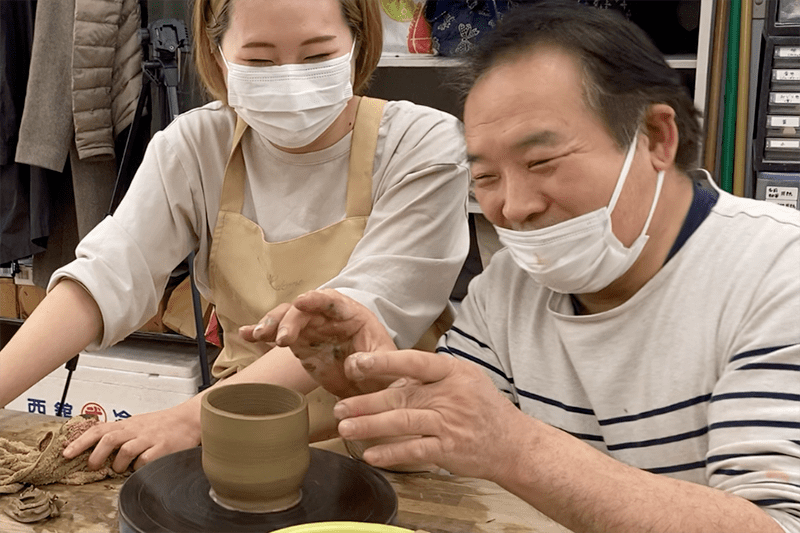
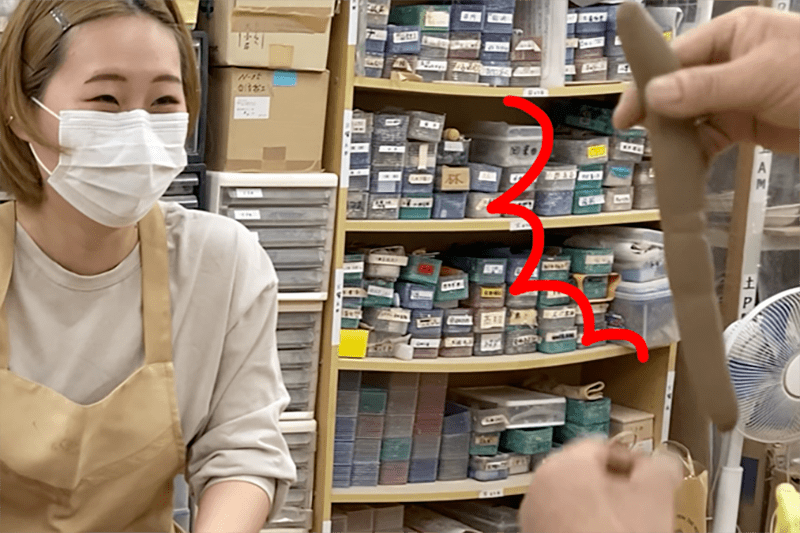
教えてくださる講師の方は、代表の奥田さん。
ユーモアたっぷりの軽快なトークがとっても楽しい方です笑
ご指導よろしくお願いします!
練る
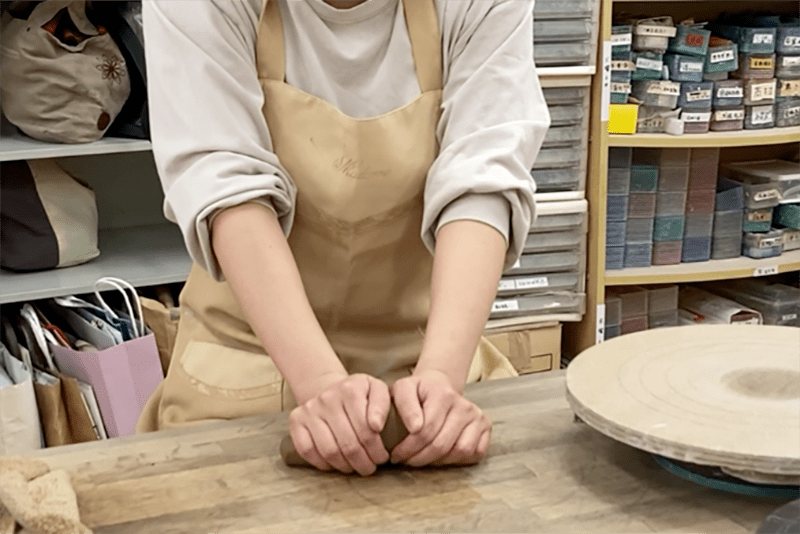
じゃあまずは練っていきましょう!
練るっていうのは、「空気を抜く」ことと「土の柔らかさを均一にする」こと。
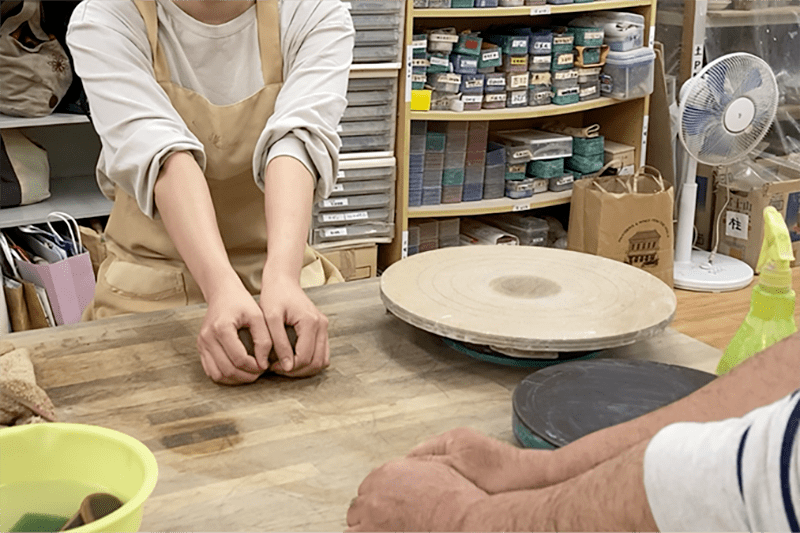
粘土を包むように持って、腕を伸ばす。
よく見てね、手首もしっかり起こして伸ばす!
土って意外と固いんだ。パン生地こねるのと全然違う!
手を開かないで潰す、起こす、持ち直す、手首を起こして潰す。
そうすると空気が出ていきますからね。
12〜13回押したら、くるくる巻いて、縦にしてまた繰り返す。
これが荒煉!
ほら!そう持っちゃうと
横に広がってきちゃう〜笑
あー!ホントだ!ちょっと違うだけで全然違う!
横も包むように持って押しましょ〜
はい!じゃあ張り切ってどうぞ!笑
手を開かないってそういうことだったのか!
おもしろ〜い!

ふむふむ・・・奥田さんの粘土と同じ形になってきた!
お?できた?
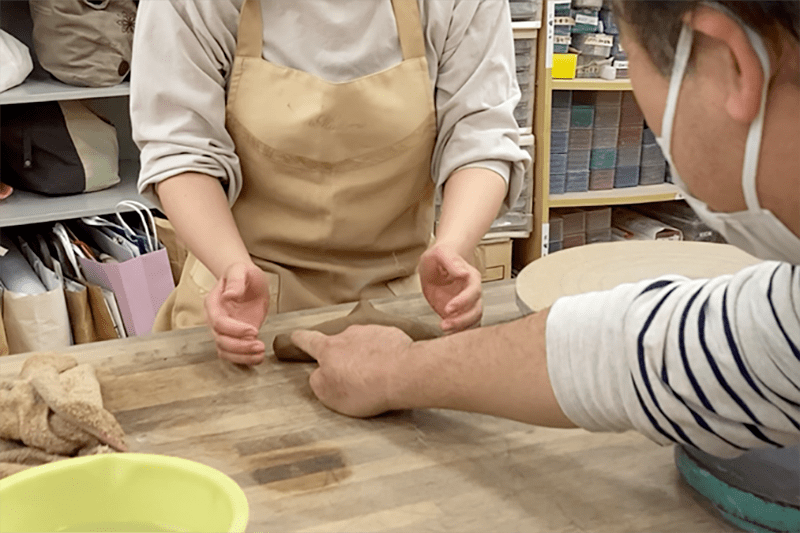
そしたらね、粘土を2:1に分けます!
2を球にしてね。ちょっと置いといて1の方で紐を作ります。
今日一番簡単な作業です!幼稚園児でもできるくらい簡単!笑
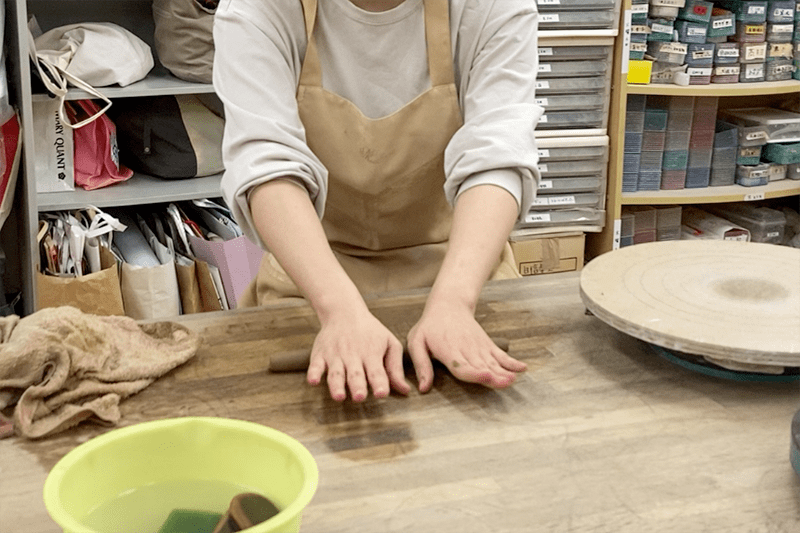
綺麗なヒモにしていきます。
外にスライドすると広がっていくからね。
力を入れないで、ここでも優しくね~
コップの一周分のヒモにします。
伸びすぎちゃったら、内側にスライドすると縮むからね。
ちょっとブサイクなヒモになっちゃったね笑
力の入れ具合はね、上手だよ。いい感じです!
ろくろ
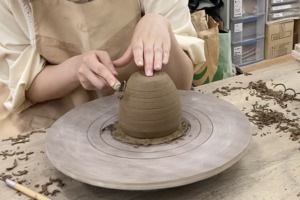
真ん中に2の方をを叩いて据え付けます。
両側から押して、形を丸く整えてください。
スポンジケーキ見たいな形になっていくなぁー
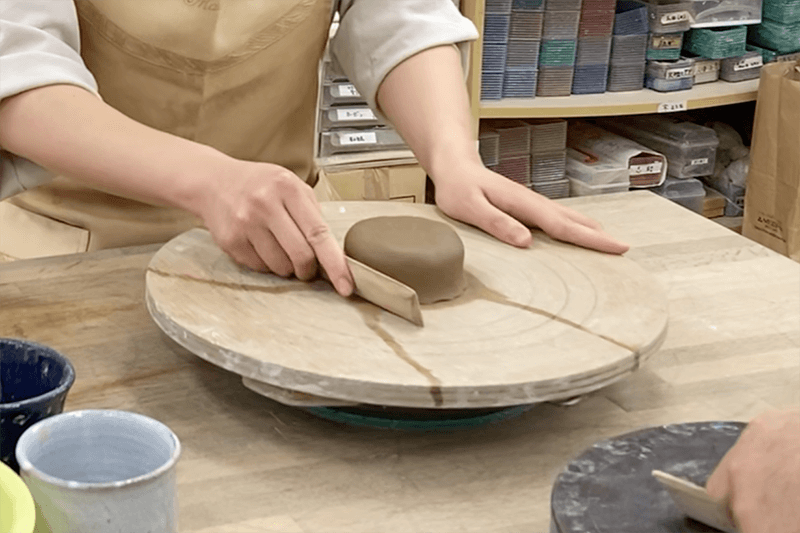
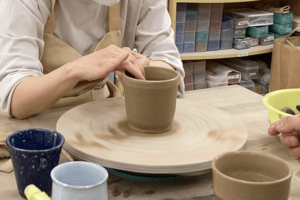
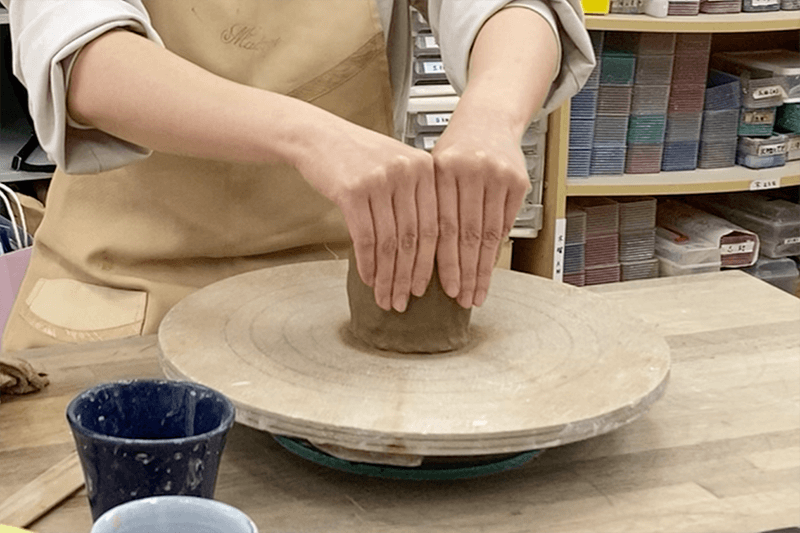
松刀刃(まつとうば)で側面が真っ直ぐになるように整えたら、親指で穴を作ります。
広がらないように他の4本の指で壁を作って、クックッとね!
底の暑さは1cm。針で刺して指を当てて底の厚さを測ります。
これ以上薄くならないようにしながら、底を広げましょう〜

できたら、コテの四角い方で底を綺麗にします。
平らな面を真っ直ぐ入れて、手前に倒してゆっくり回す。
するとなんという事でしょう!凸凹が消えて滑らかになっていきます!
外側に傾いちゃうと掘れちゃうから、内側に傾くぐらいの感じでね。
これを土を締めると言います。底割れを防ぐためにしますよー。
次は壁が分厚いので、5mmくらいにします。
両手で小さく細かく、1センチくらいを寄せながら上に伸ばします。
力入れすぎると薄くなっちゃうから、指先に集中して優しくね?
できた!できたけど、高さが凸凹になっちゃいました笑
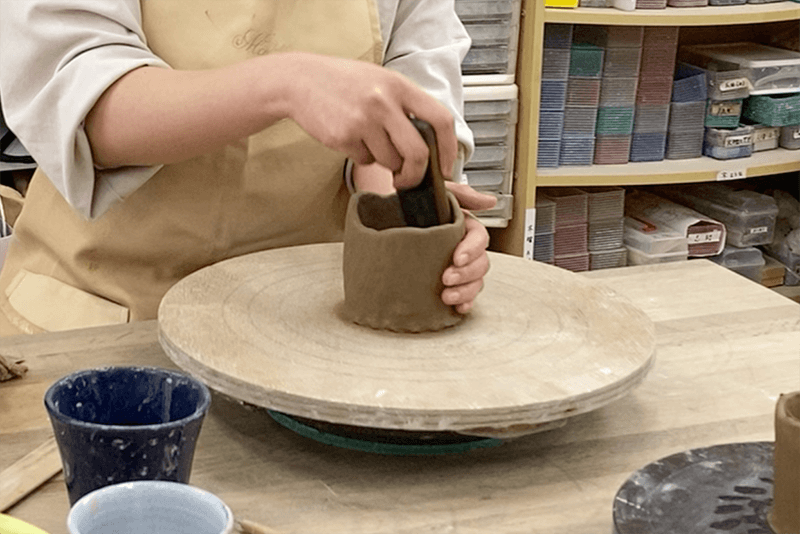
よし!今度はコテの丸い方を使って凸凹を消しましょう。
気をつけてほしいのが、真っ直ぐ手を動かすこと!
手首をかえしちゃうと、丸くなっちゃうからね。
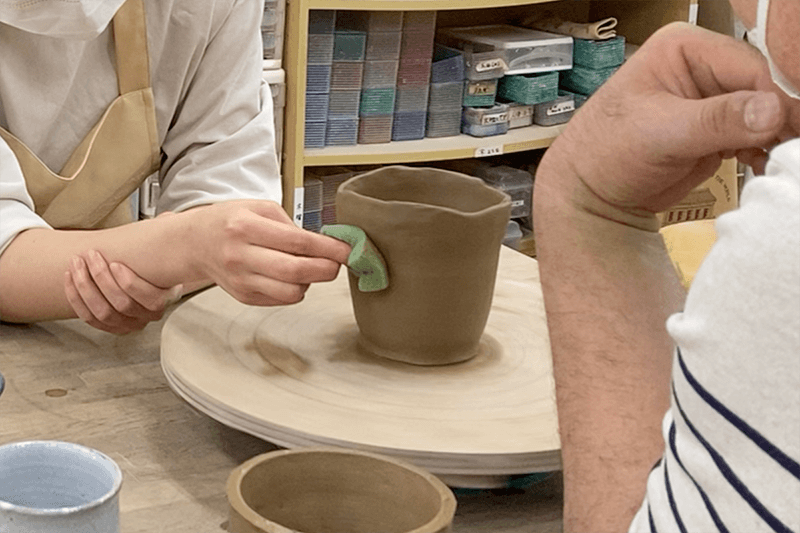
さっきの紐登場!
端から少し内側に置いて一周させて、内側を親指で上からスッスッとくっつけます。
つなぎめが線になっちゃうので、横に親指を動かして馴染ませます。
土ってね、これくらいでくっつくんだよー。
ホントだ!すごーい!
でもラッパみたいに広がっちゃいました笑
大丈夫!下と同じ厚さになるように、また寄せて上げて寄せて上げて・・・真っ直ぐになってきたでしょ〜。
そしたらまたコテ登場で、さっきと同じように凸凹を滑らかにしましょう。
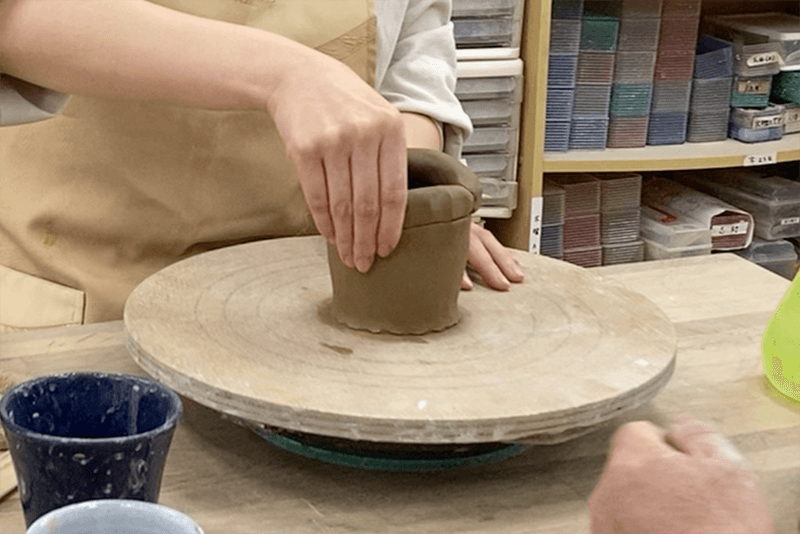
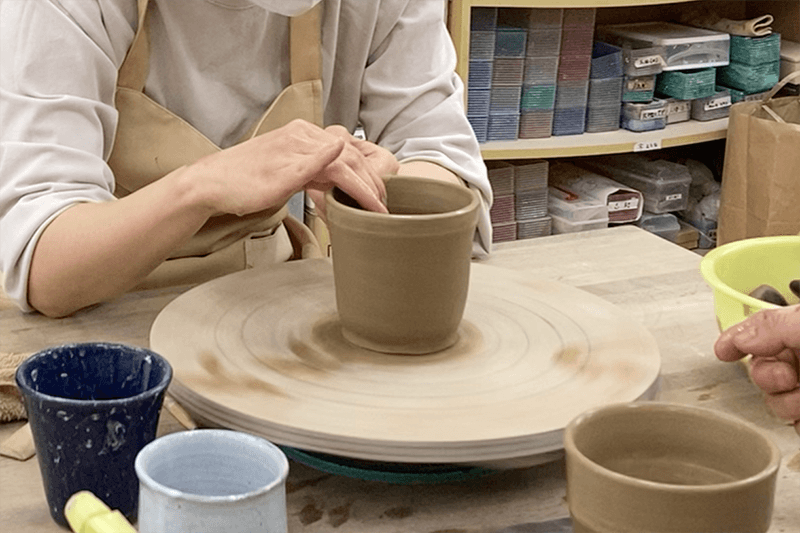
今度はスポンジで表面を綺麗にします。
縁から優しくゆっくり、底まで下ろしてー・・・
底からゆーっくり上げて、スッと離す。
外側も同じようにね。
おお〜、なんか陶芸っぽい・・・
ちょっと力入れるだけで、形が変わっちゃうんだなぁ
ここで注意なのが、回しながらやらないように!
回しながらだと体が動いちゃうから、うつわが歪んじゃう。
上下に動かすときは肘を意識して、肘の上げ下げで簡単に動くからね。
指先は真っ直ぐにすると力が入っちゃうから、少し曲げて優しくね。

次は針。線を書くようにして、ちょっとずつ入れていくと切れます!
今度は切った縁をなめします。なめし革は鹿皮。
なめし革は、利き手をチョキにして挟んで、端を反対の手で持つ。
そっと摘んで・・・そっと離す!
あとは好きな形にできたら今日はOK!

しっぴきで切り離すのって、結構力いるんだなぁ・・・
針金だから指が痛いや笑
どう?良い感じにできた?
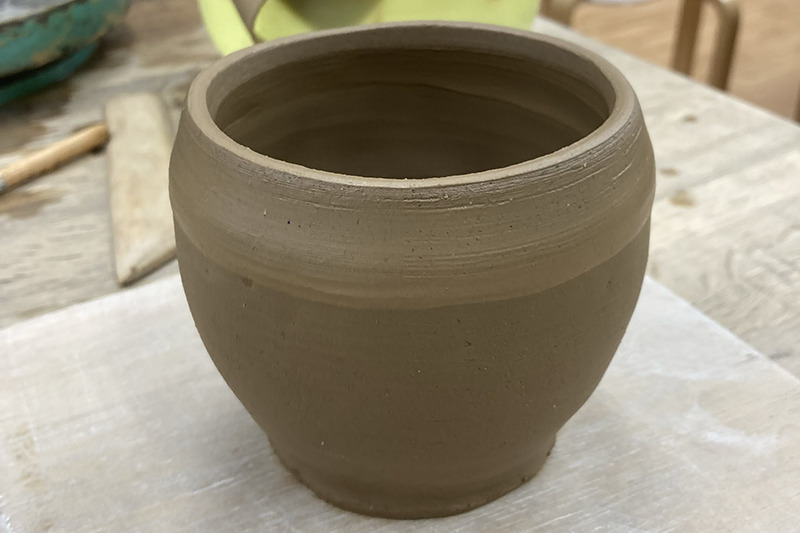
丸いのが欲しかったので、こんな感じにしました!
思ったよりイメージに近い形にできたので達成感・・・
ありがとうございました!
最後に
いかがでしたでしょうか?1日目はこんな感じでフリーカップ作りをしました。
奥田さんが教え上手なので、テンポ良く分かりやすく進めてくださいました!
土は非常にデリケートな素材で、赤ちゃんのほっぺを触るような力加減で作る感覚。
ほんのちょっと力が入ると、すぐクニャっと崩れてしまいます。
自分の動作がそのまますぐに土に現れるところが、面白いなぁと思いました。(土は素直だなぁ・・・)
作家さんのように”仕事”となると、また違った気持ちなのかもしれませんが、夢中になってしまう感覚が少しわかったような気がしました。
次回は、今日作ったカップを削るそうです!お楽しみに!
わたしたちが申し込んだ「かなり体験(全5回:4種類のうつわ作りから釉薬がけまで)」は、受講料¥12,000(税込)となっております。ご興味のある方は、どうぞご覧ください。